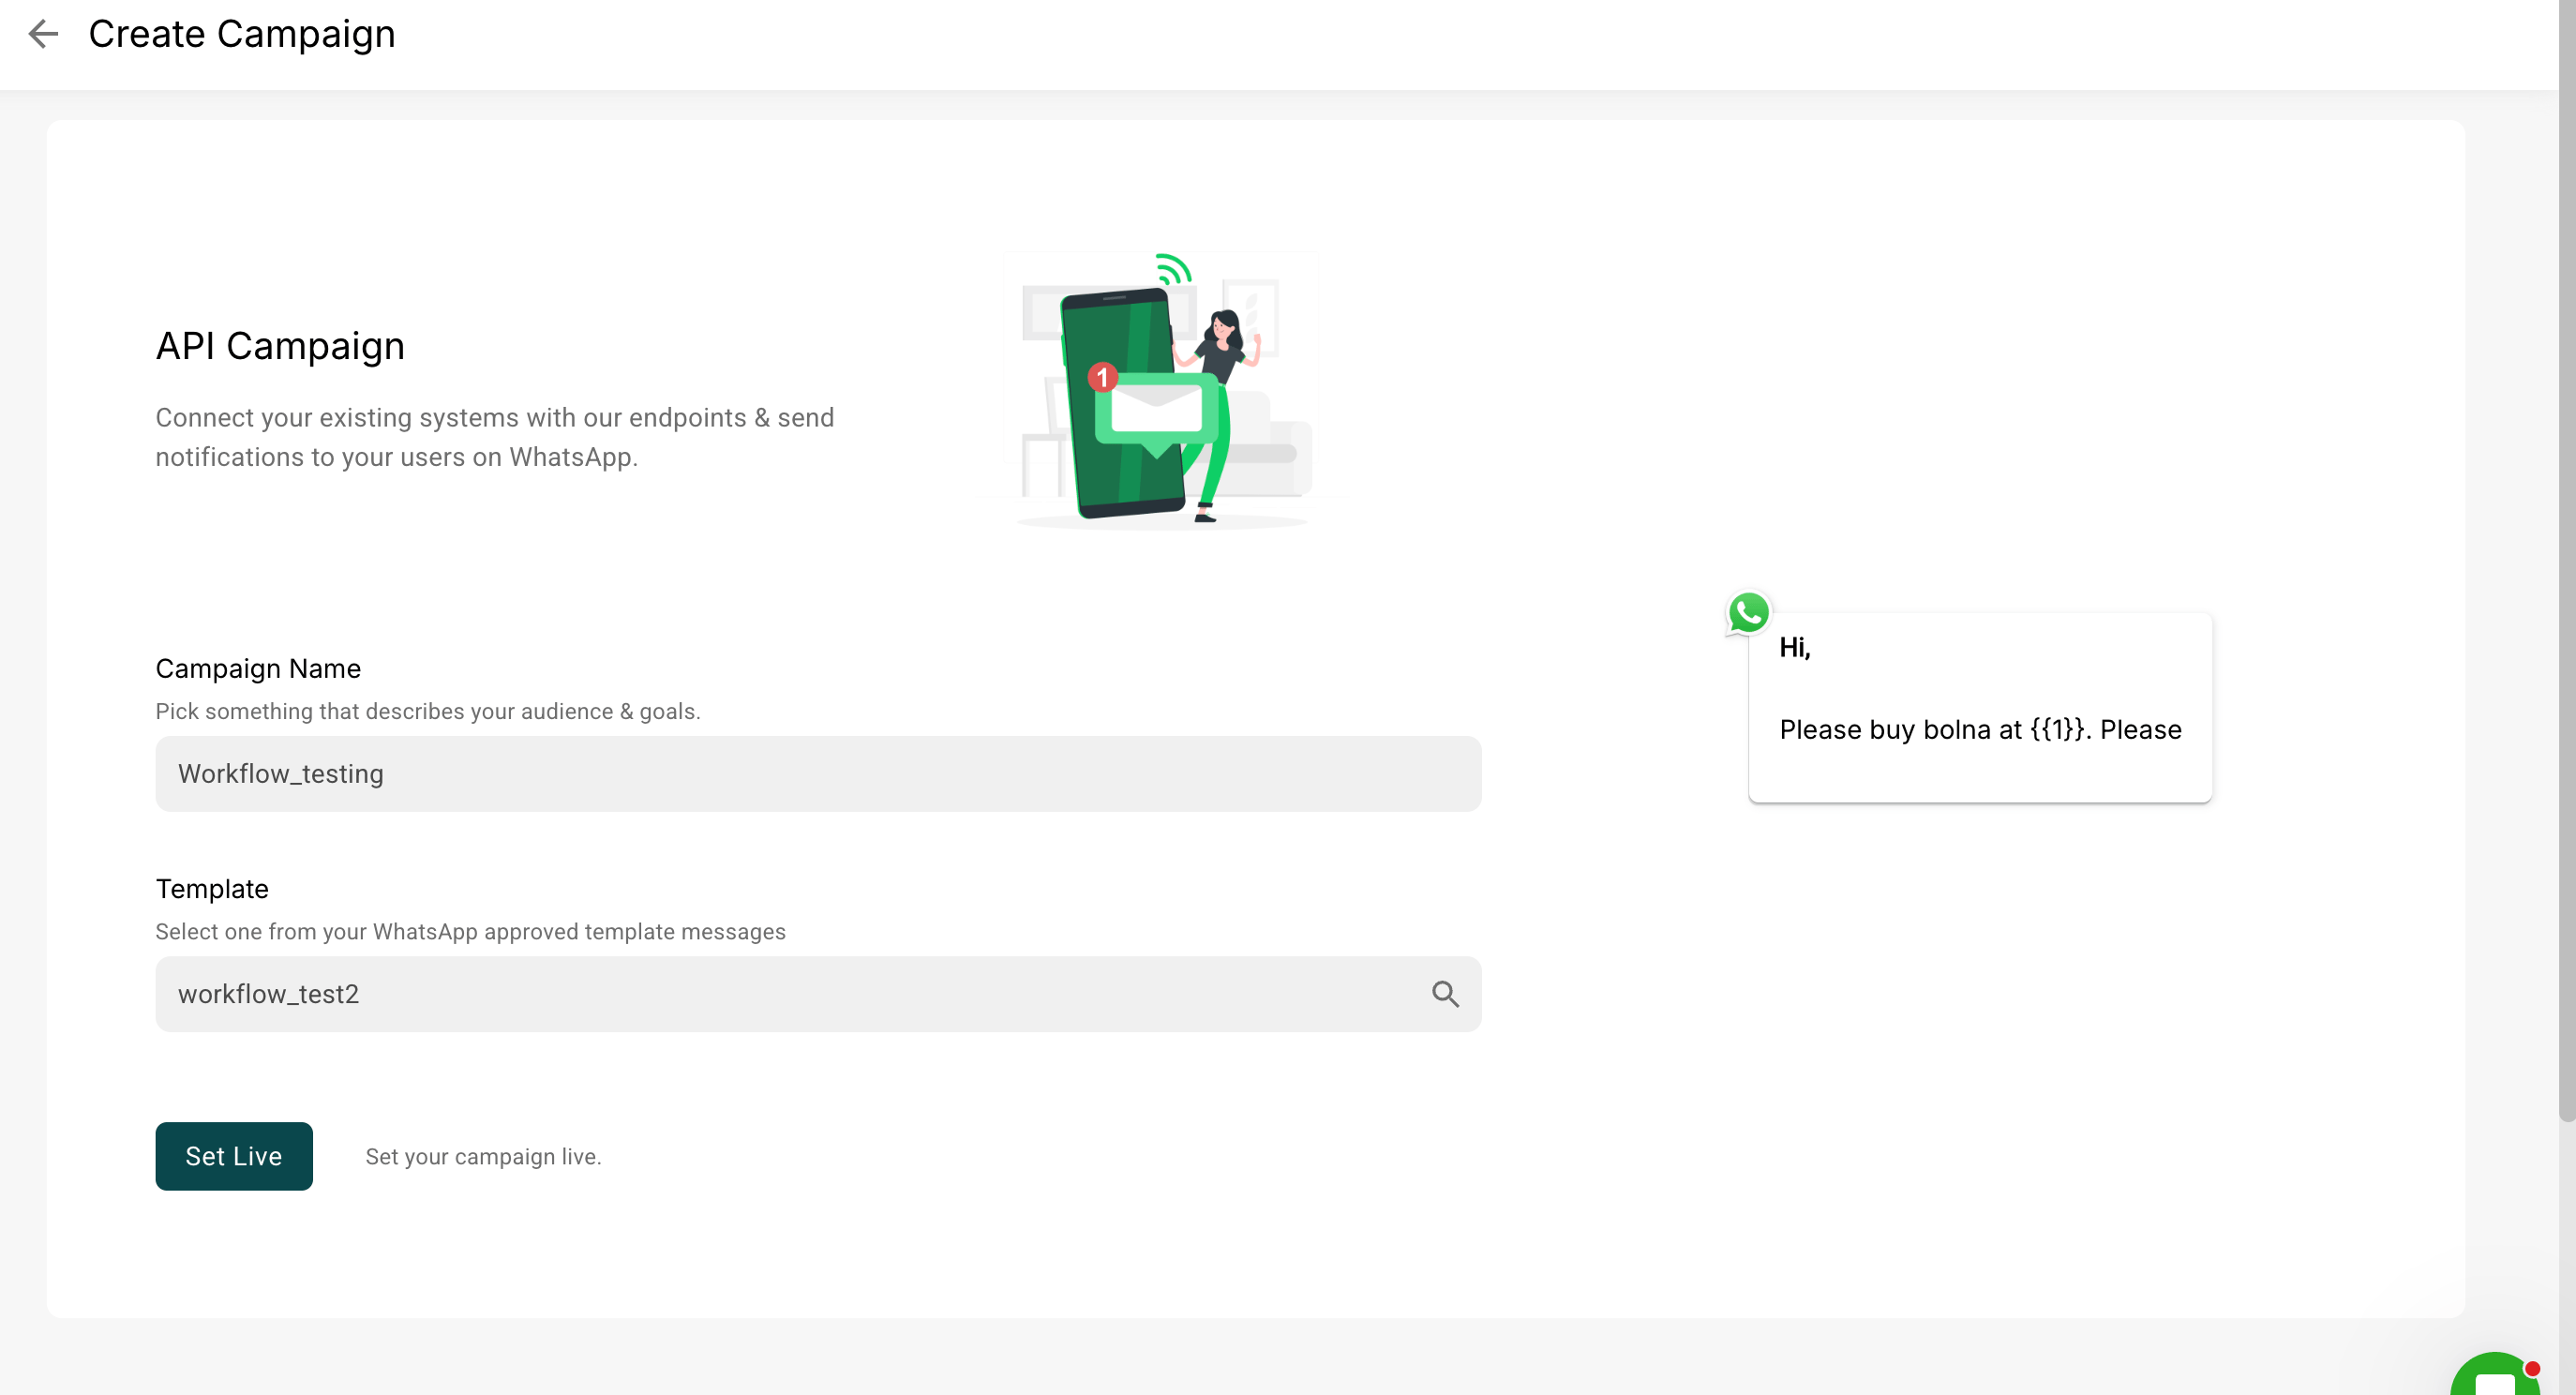
The built-in way to send WhatsApp messages from Bolna: link your AiSensy account once and any workflow step, before or after a call, sends an approved WhatsApp template. No Make.com or n8n needed.
This is Bolna’s native WhatsApp integration. Connect your AiSensy account to Bolna once, then send approved WhatsApp templates from any step of a workflow: a reminder before a call, a follow-up after it, or a message only when the call didn’t connect. No separate automation tool, no code.
AiSensy is a WhatsApp Business API platform. It sits between your business and Meta’s official WhatsApp Business API — handling business verification, the approved sender number, template management, and message delivery, so you don’t have to build against Meta’s API yourself.The pieces of AiSensy that matter for this integration:
Project — your AiSensy workspace. Each project has its own WhatsApp Business number and its own API key.
Template — a pre-written message format that Meta reviews and approves. On WhatsApp, business-initiated messages must use an approved template.
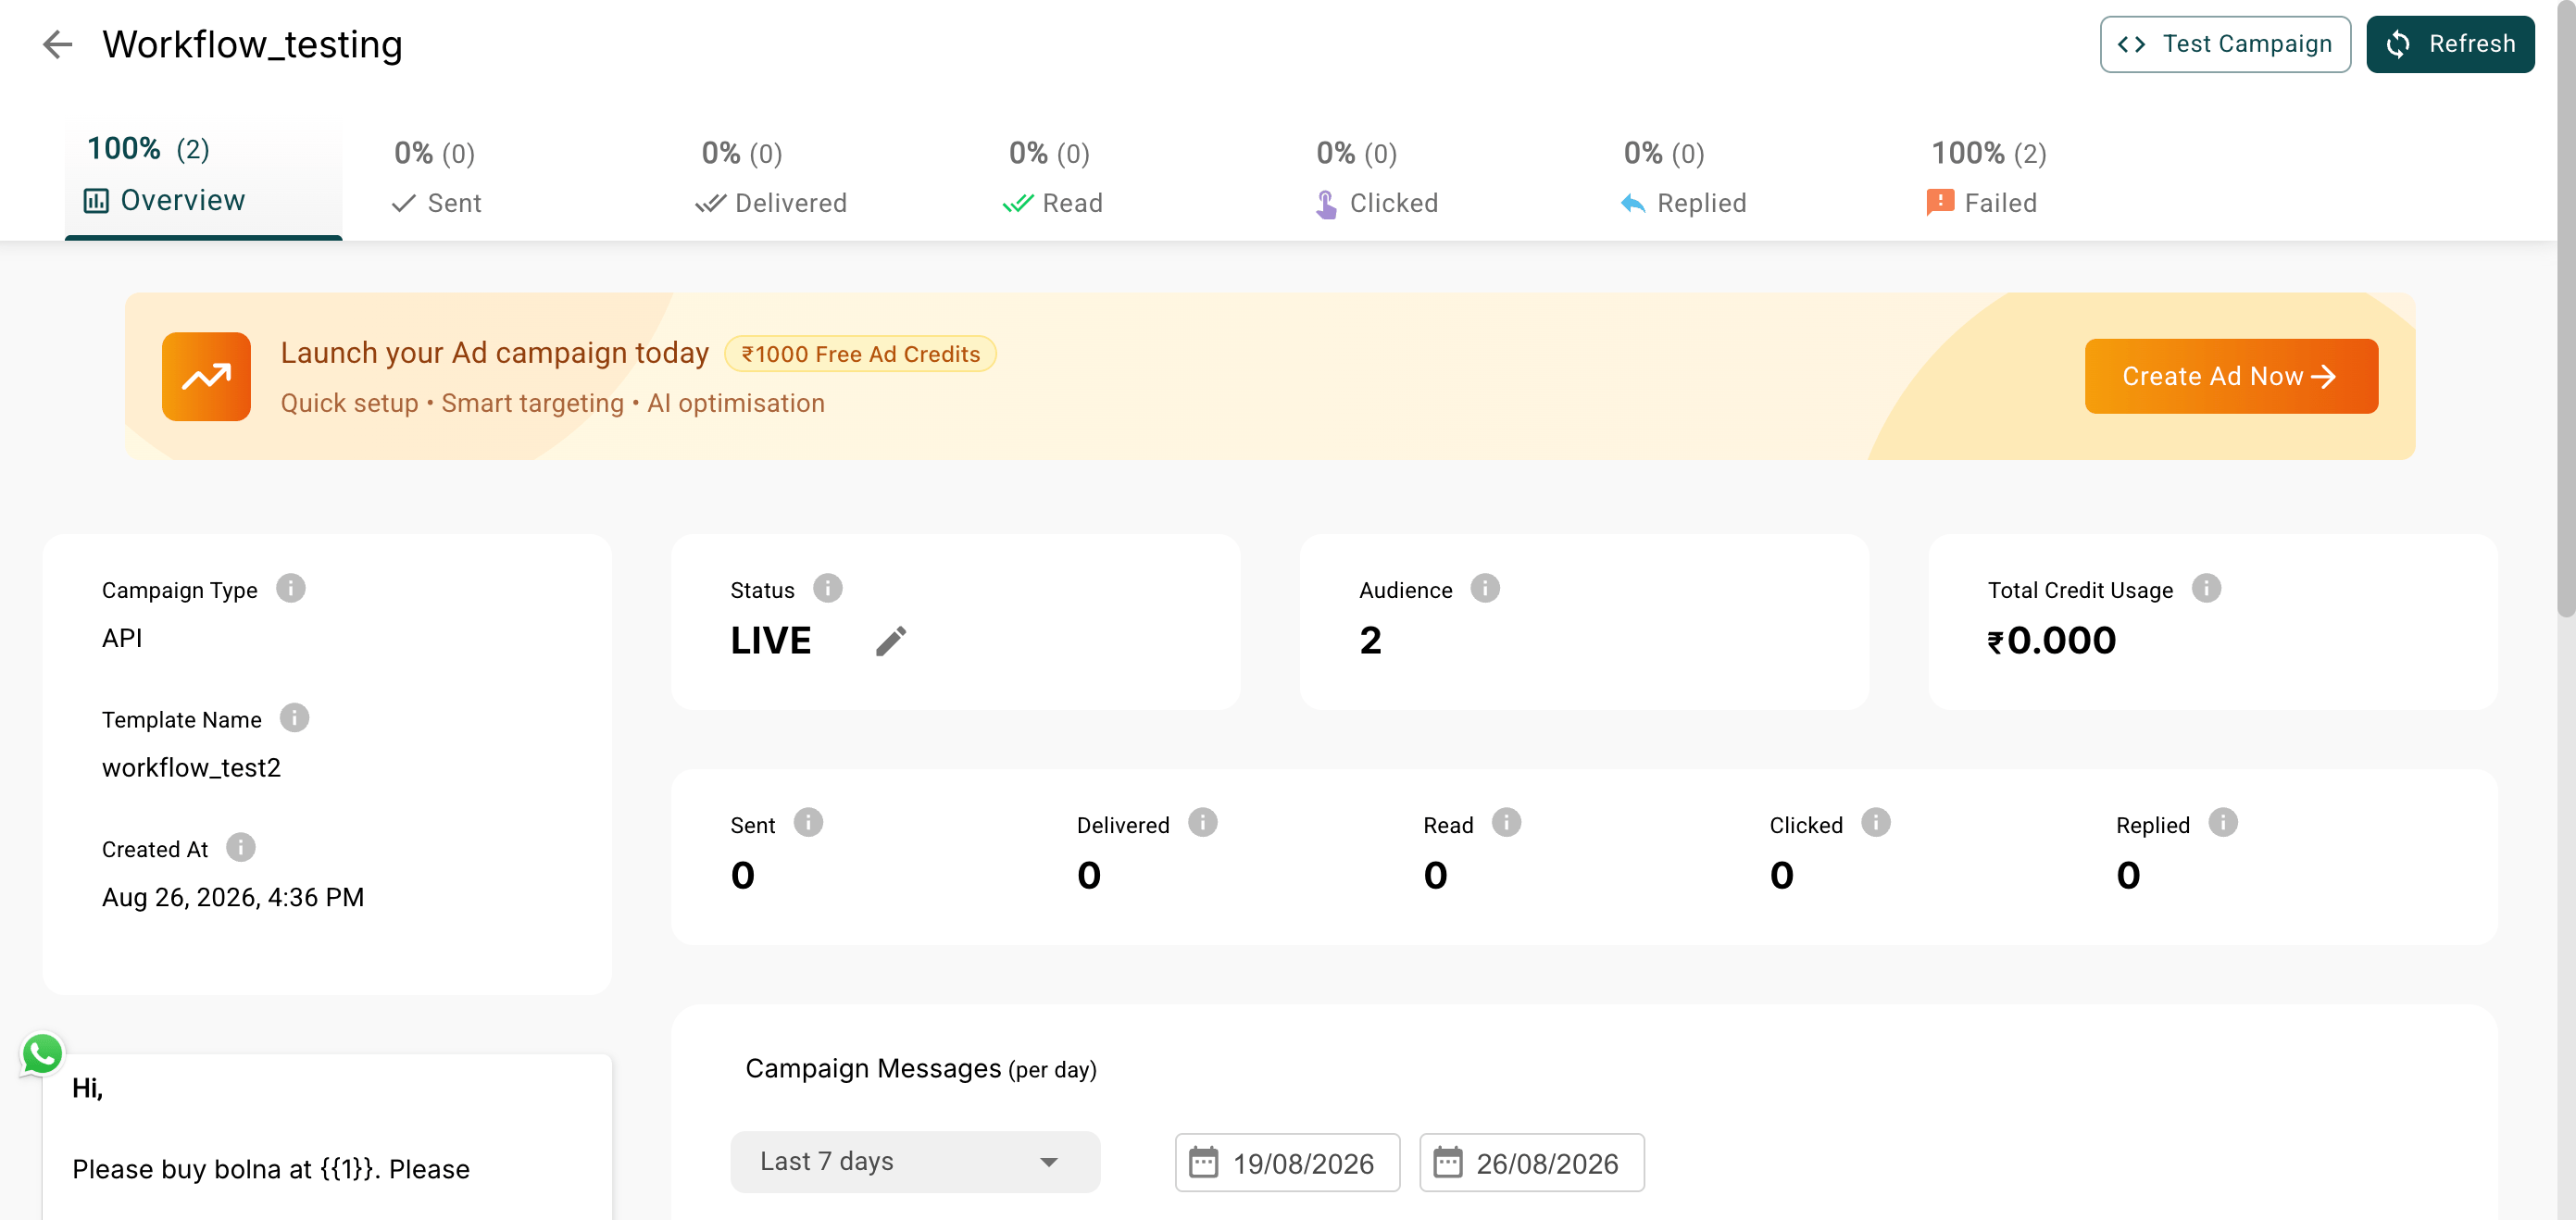
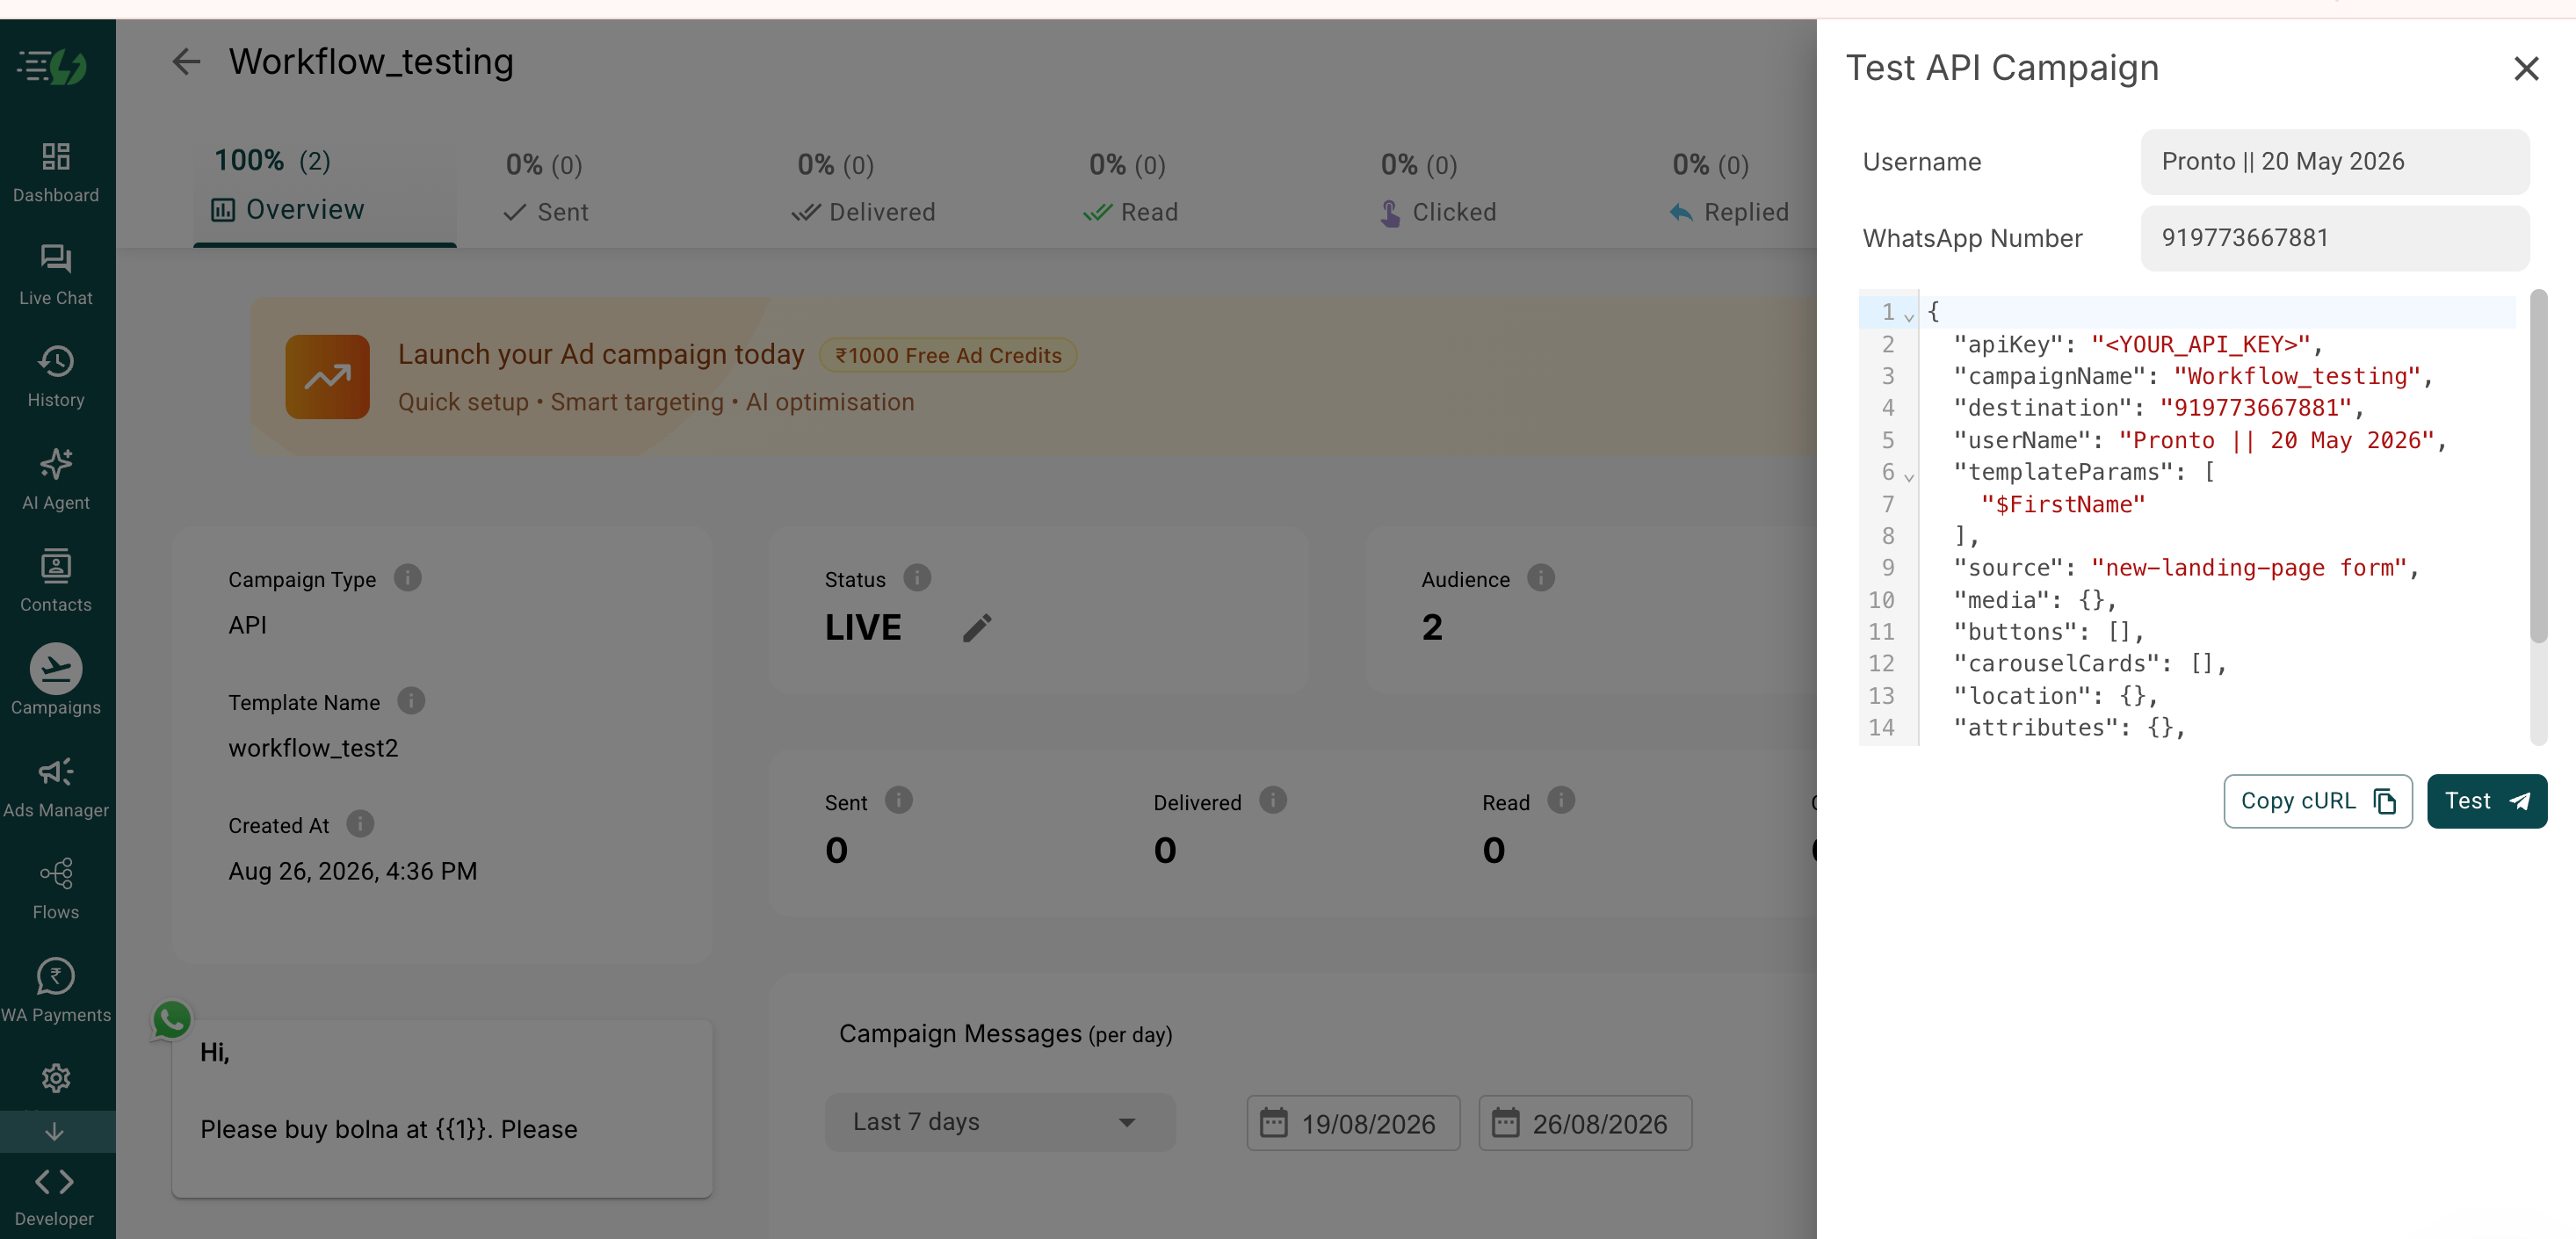
Campaign — a launched instance of a template. This is what you actually select inside Bolna.
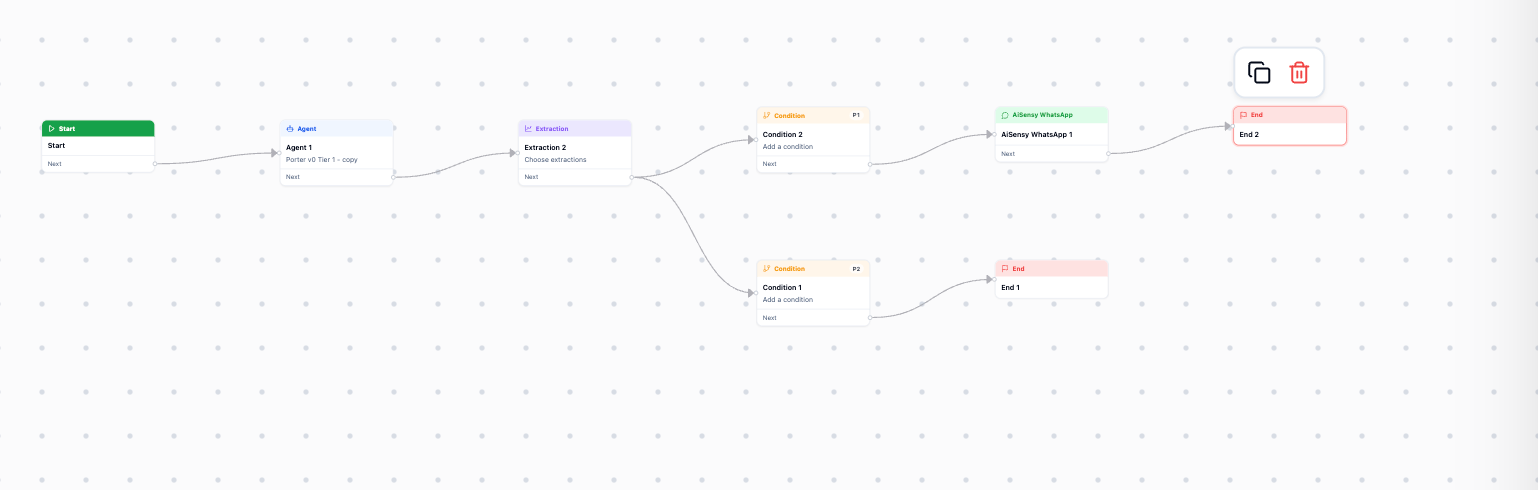
AiSensy is integrated directly into Bolna workflows. You paste your AiSensy project API key and project ID into Bolna once for authentication, and Bolna pulls in the list of WhatsApp campaigns running under that project. You pick a campaign, drop it into a workflow as an aisensy_whatsapp node, and Bolna sends that template on your behalf when the workflow reaches that step.That means a single workflow can mix voice and WhatsApp — for example, calling a lead, extracting how the conversation went, branching on the result, and following up hot leads on WhatsApp while the cold ones just end.
A workflow branching to an AiSensy WhatsApp node before ending
How to send a WhatsApp message in a Bolna workflow
1
Authenticate with your AiSensy project API key
In AiSensy, open the project you want to send from.
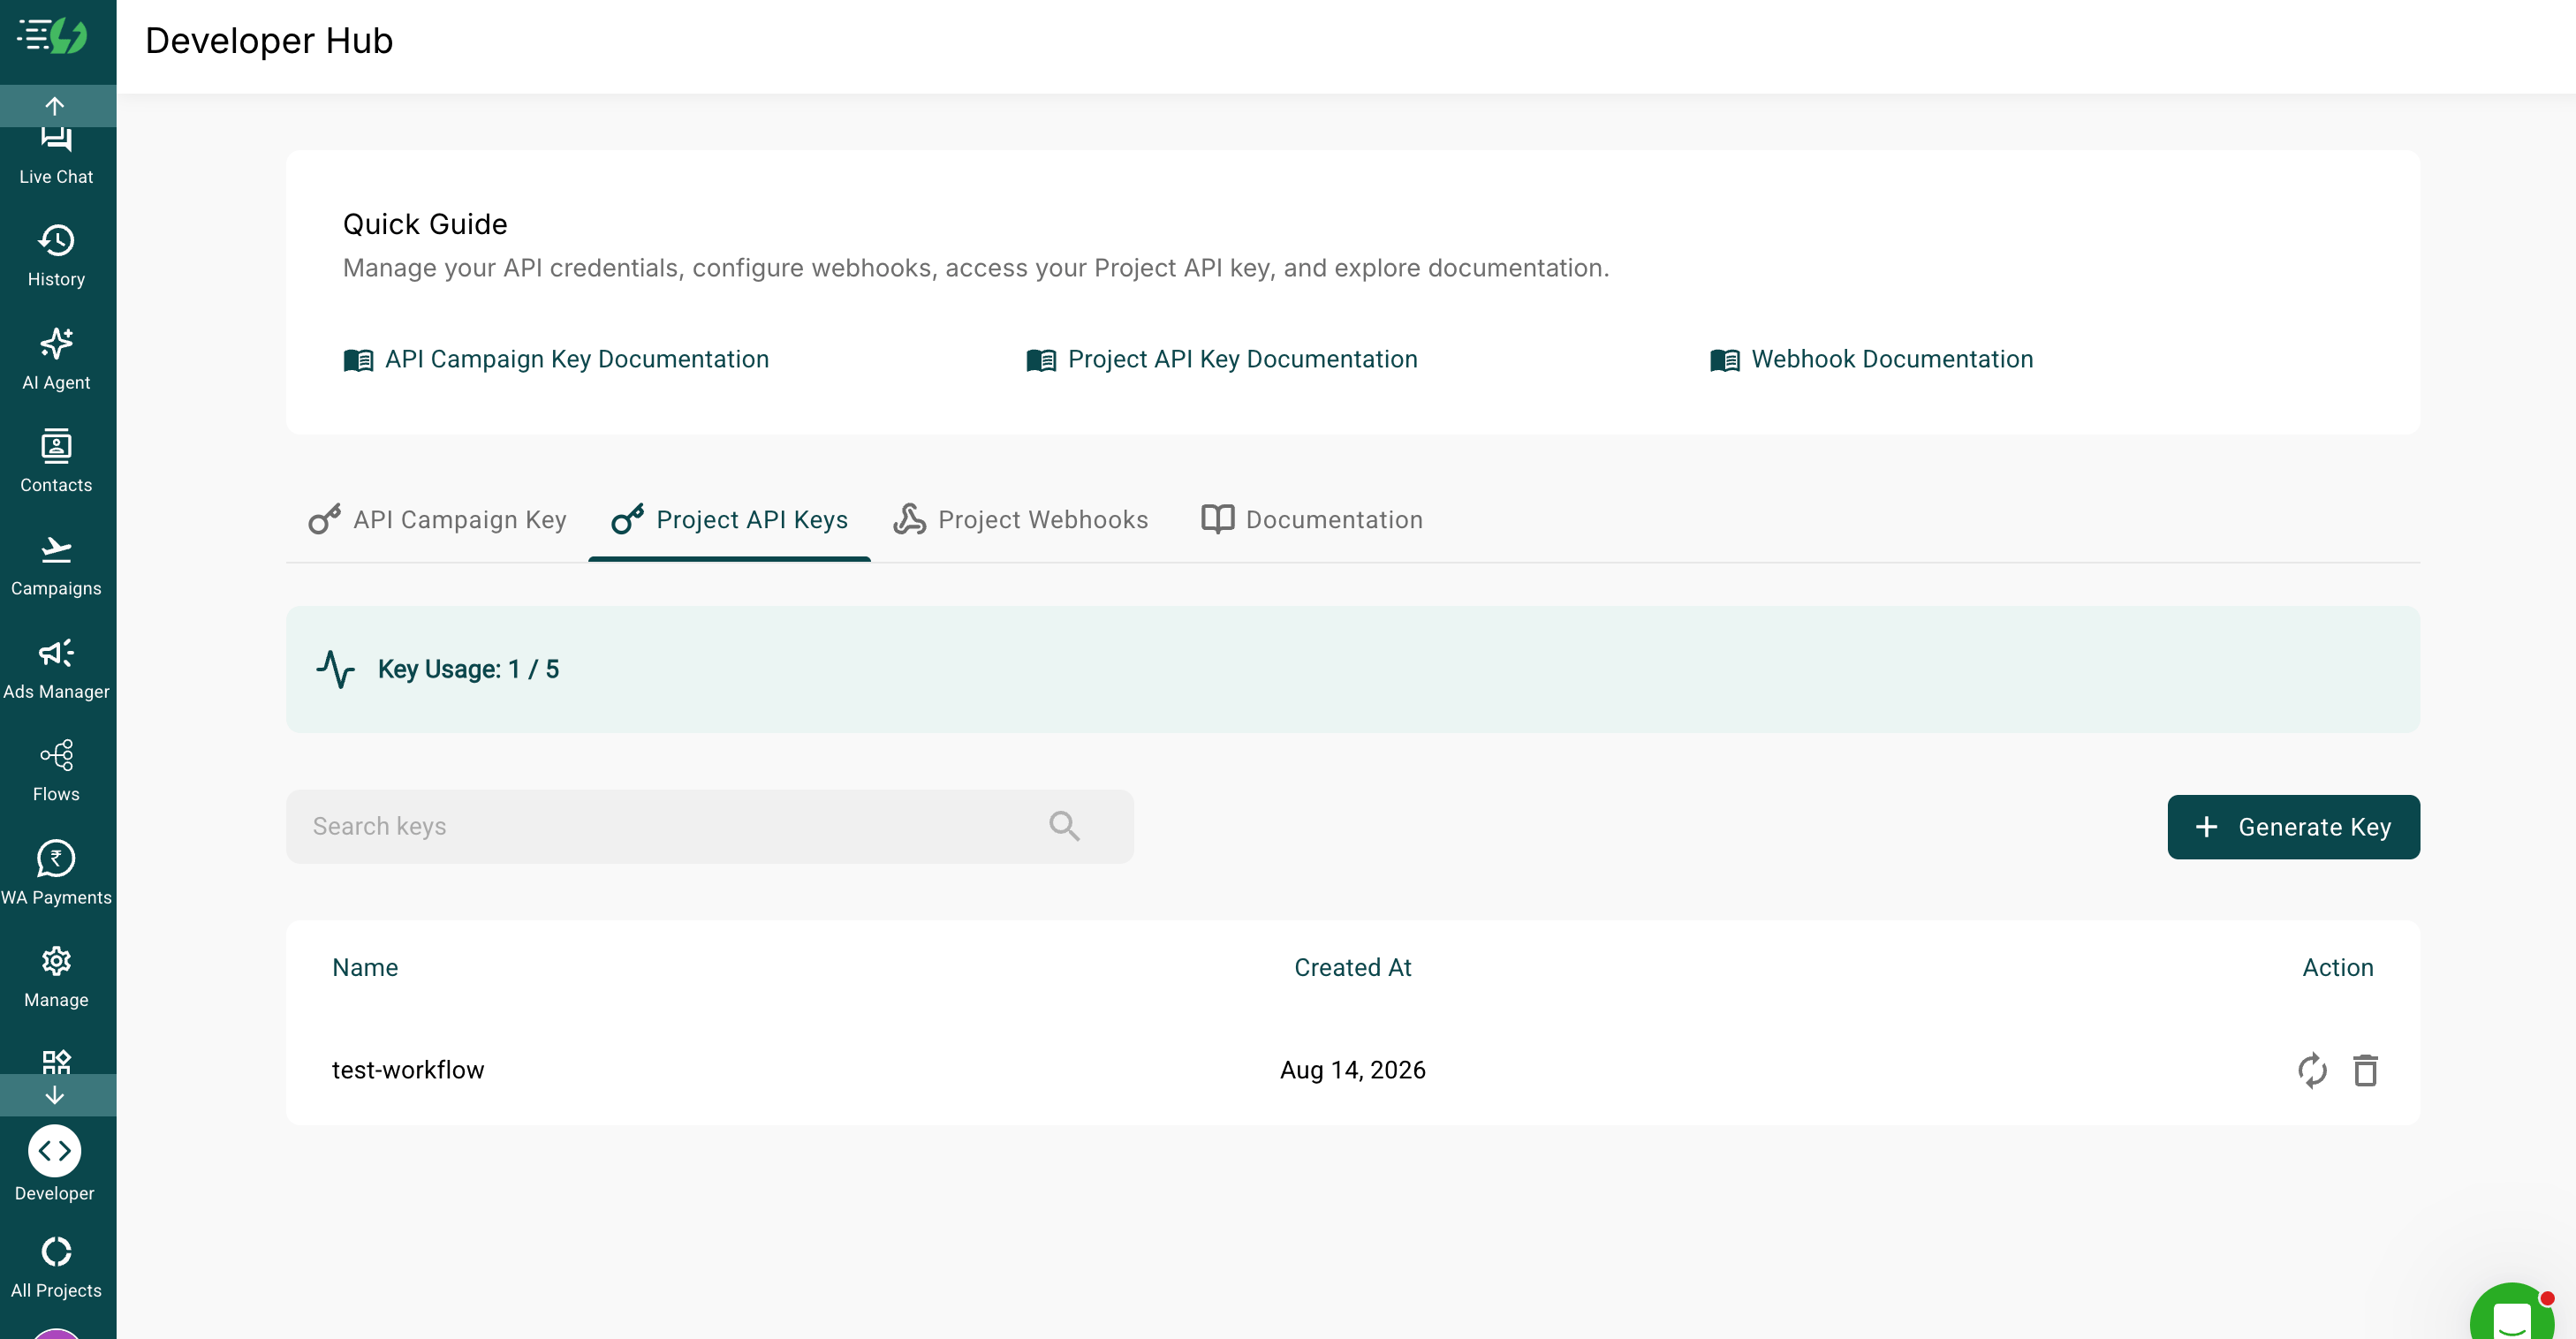
Go to Developer → Project API Keys.
Project API Keys tab in the AiSensy Developer Hub
Copy the project API key.
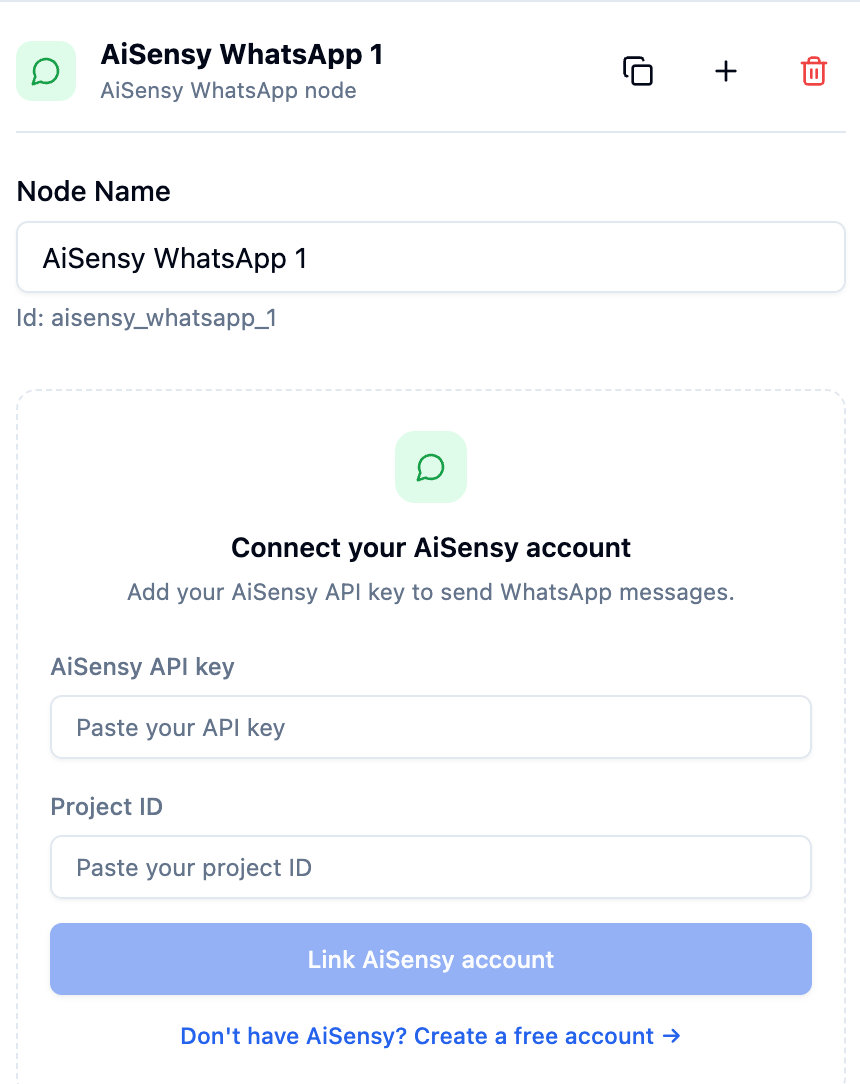
In Bolna, open your workflow, add the AiSensy WhatsApp node, and paste the key and project ID, then click Link AiSensy account.
Linking an AiSensy account from the AiSensy WhatsApp node
The API key is scoped to one AiSensy project. If you run multiple projects (different numbers or brands), use the key for the project whose number should appear as the sender.
You can also link the account outside a workflow, from Integrations in the Bolna dashboard, or by opening platform.bolna.ai/auth/aisensy — which signs you in and takes you straight to the AiSensy card. Either route stores the same credentials on your account, so a workflow node linked one way is already connected the other.
2
Select your campaign and send a test message
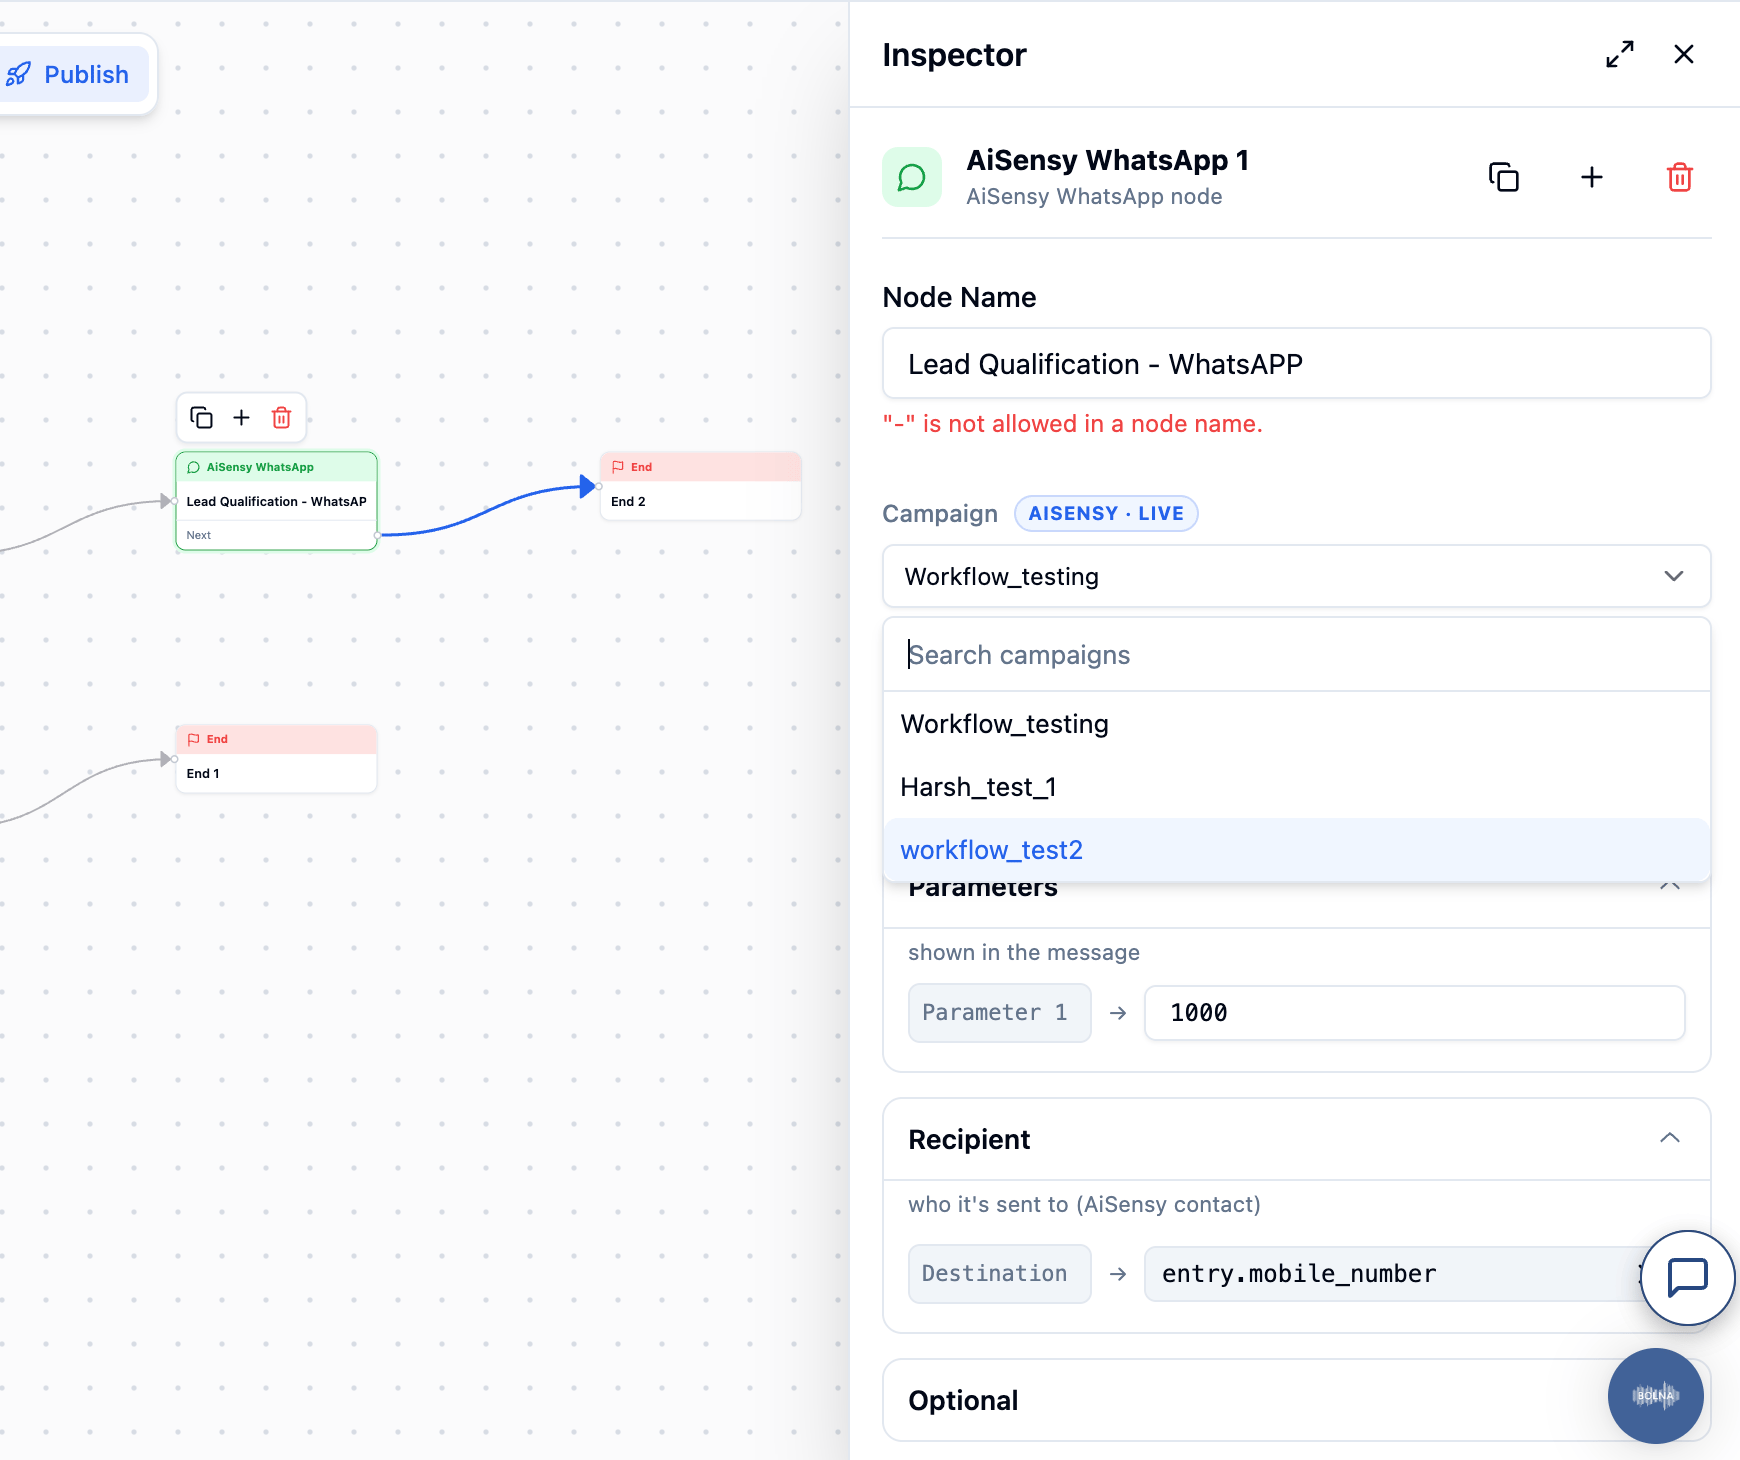
Once the key is accepted, Bolna fetches every campaign running under that project and shows them as a list.
Selecting an AiSensy campaign in the node inspector
Select the campaign you want to use.
Fill in any template variables (name, order ID, date — whatever your template uses). You can also use workflow fields as message variables.
Send a test message to fire it to your own number and confirm the sender, wording, and variables all look right.
Always send a test before publishing. It’s the fastest way to catch a wrong variable order or a template that reads oddly once the placeholders are filled in.
Log in to the AiSensy project the campaign should live under.
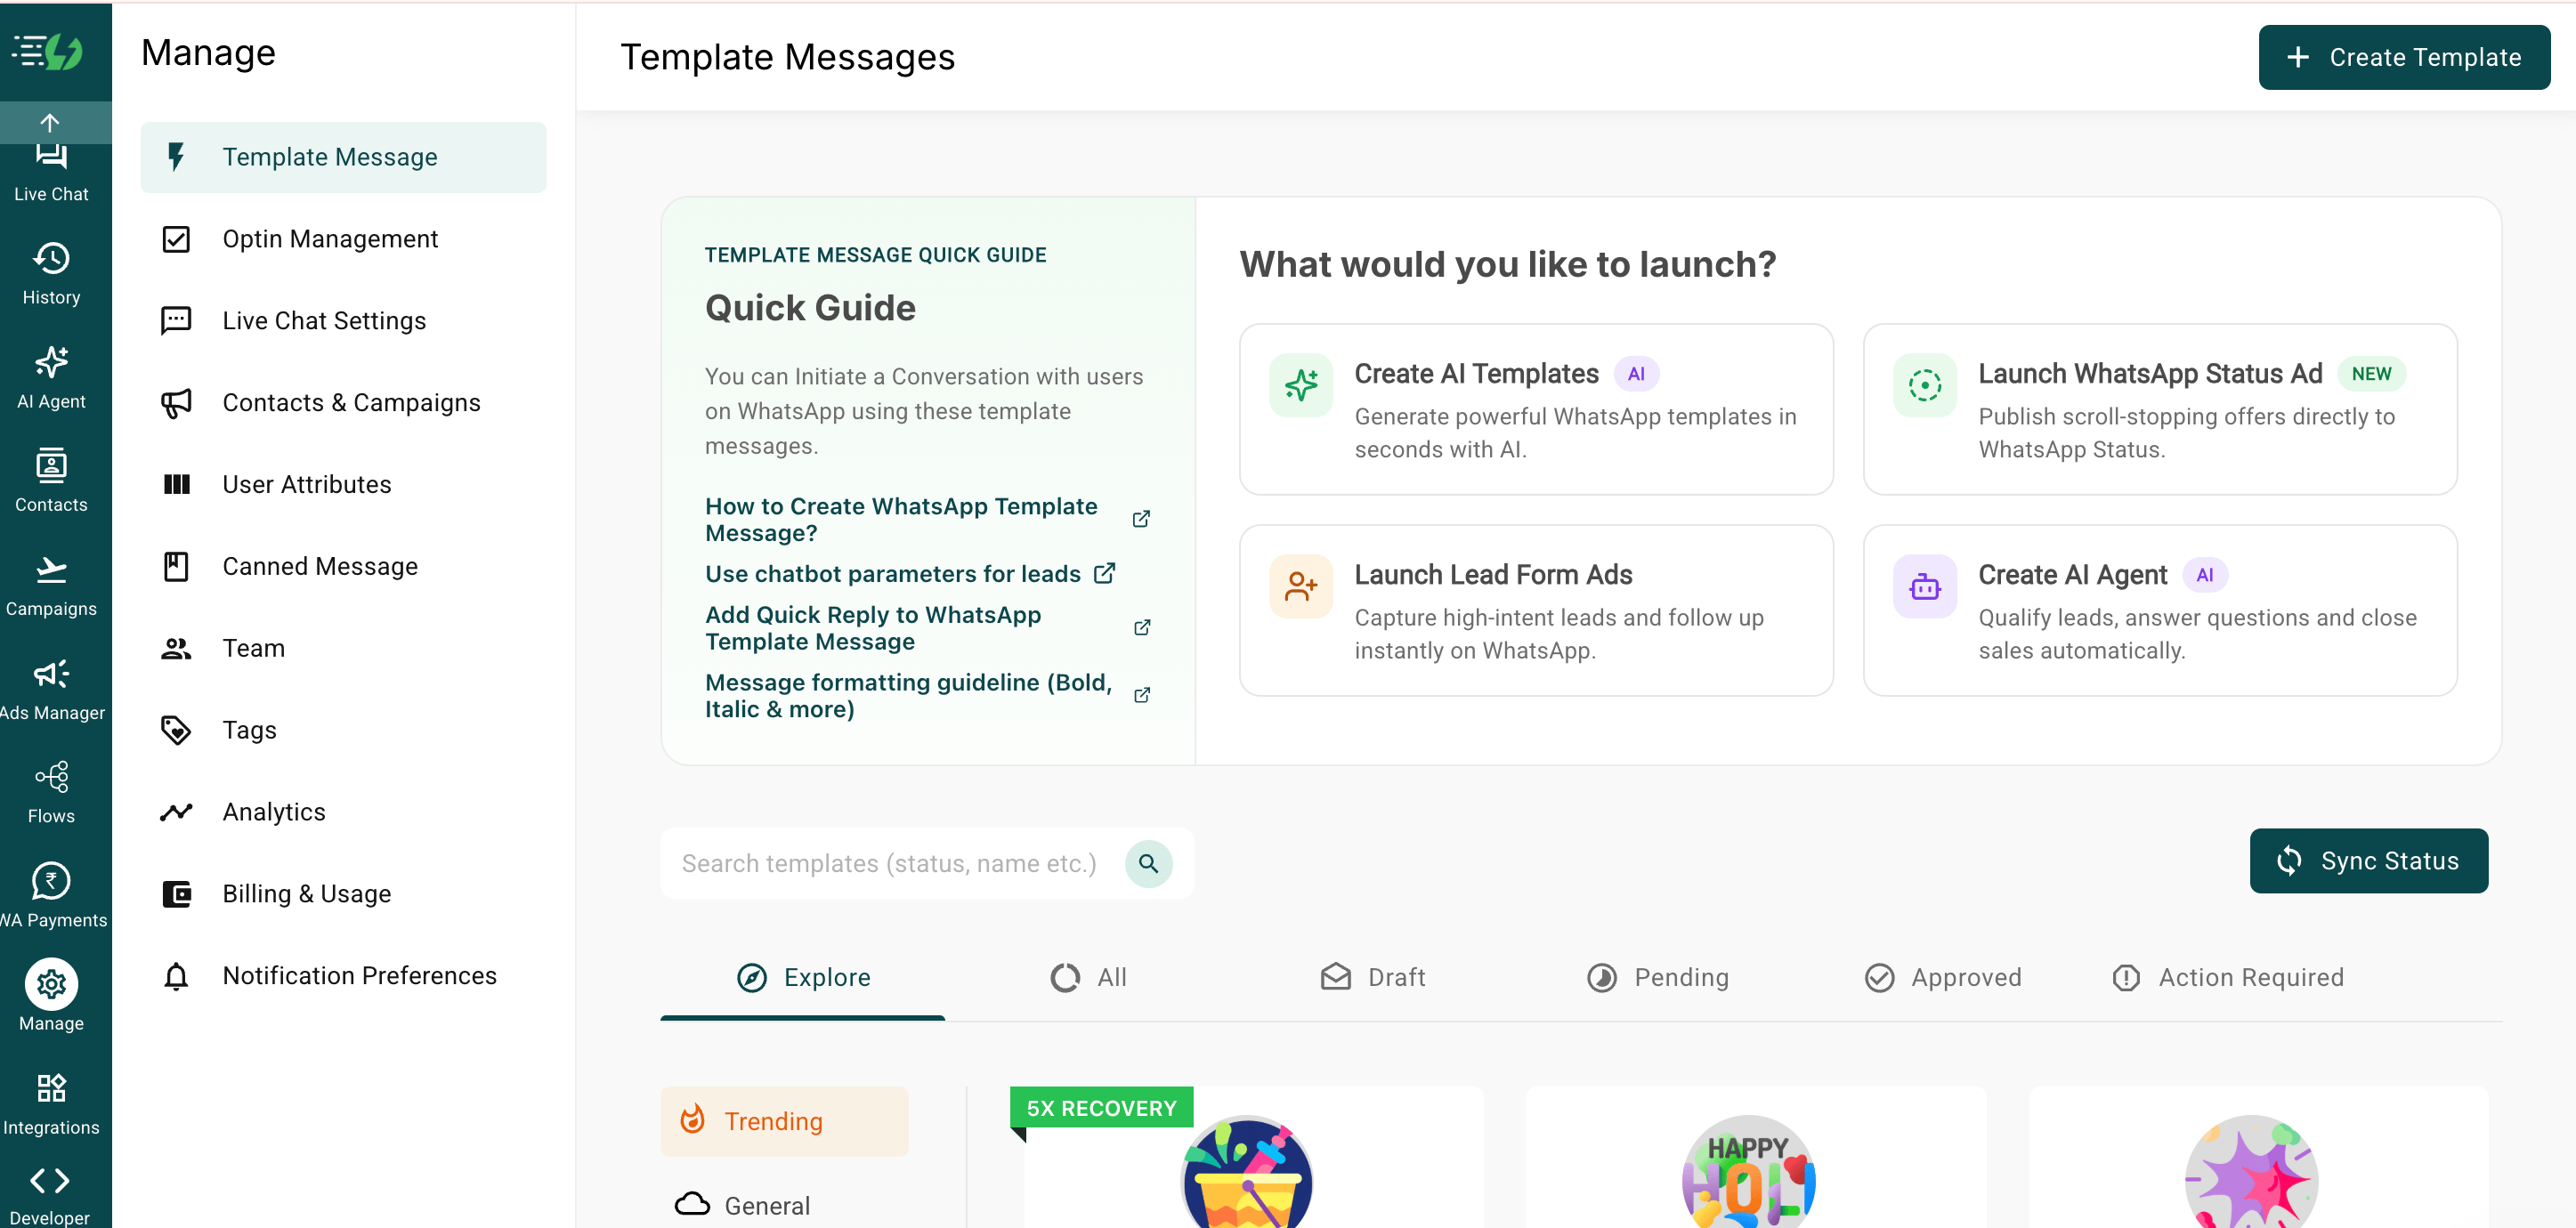
From the left nav, select Manage (the gear icon), then Template Message.
Template Messages quick guide in AiSensy
2
Create and submit the template
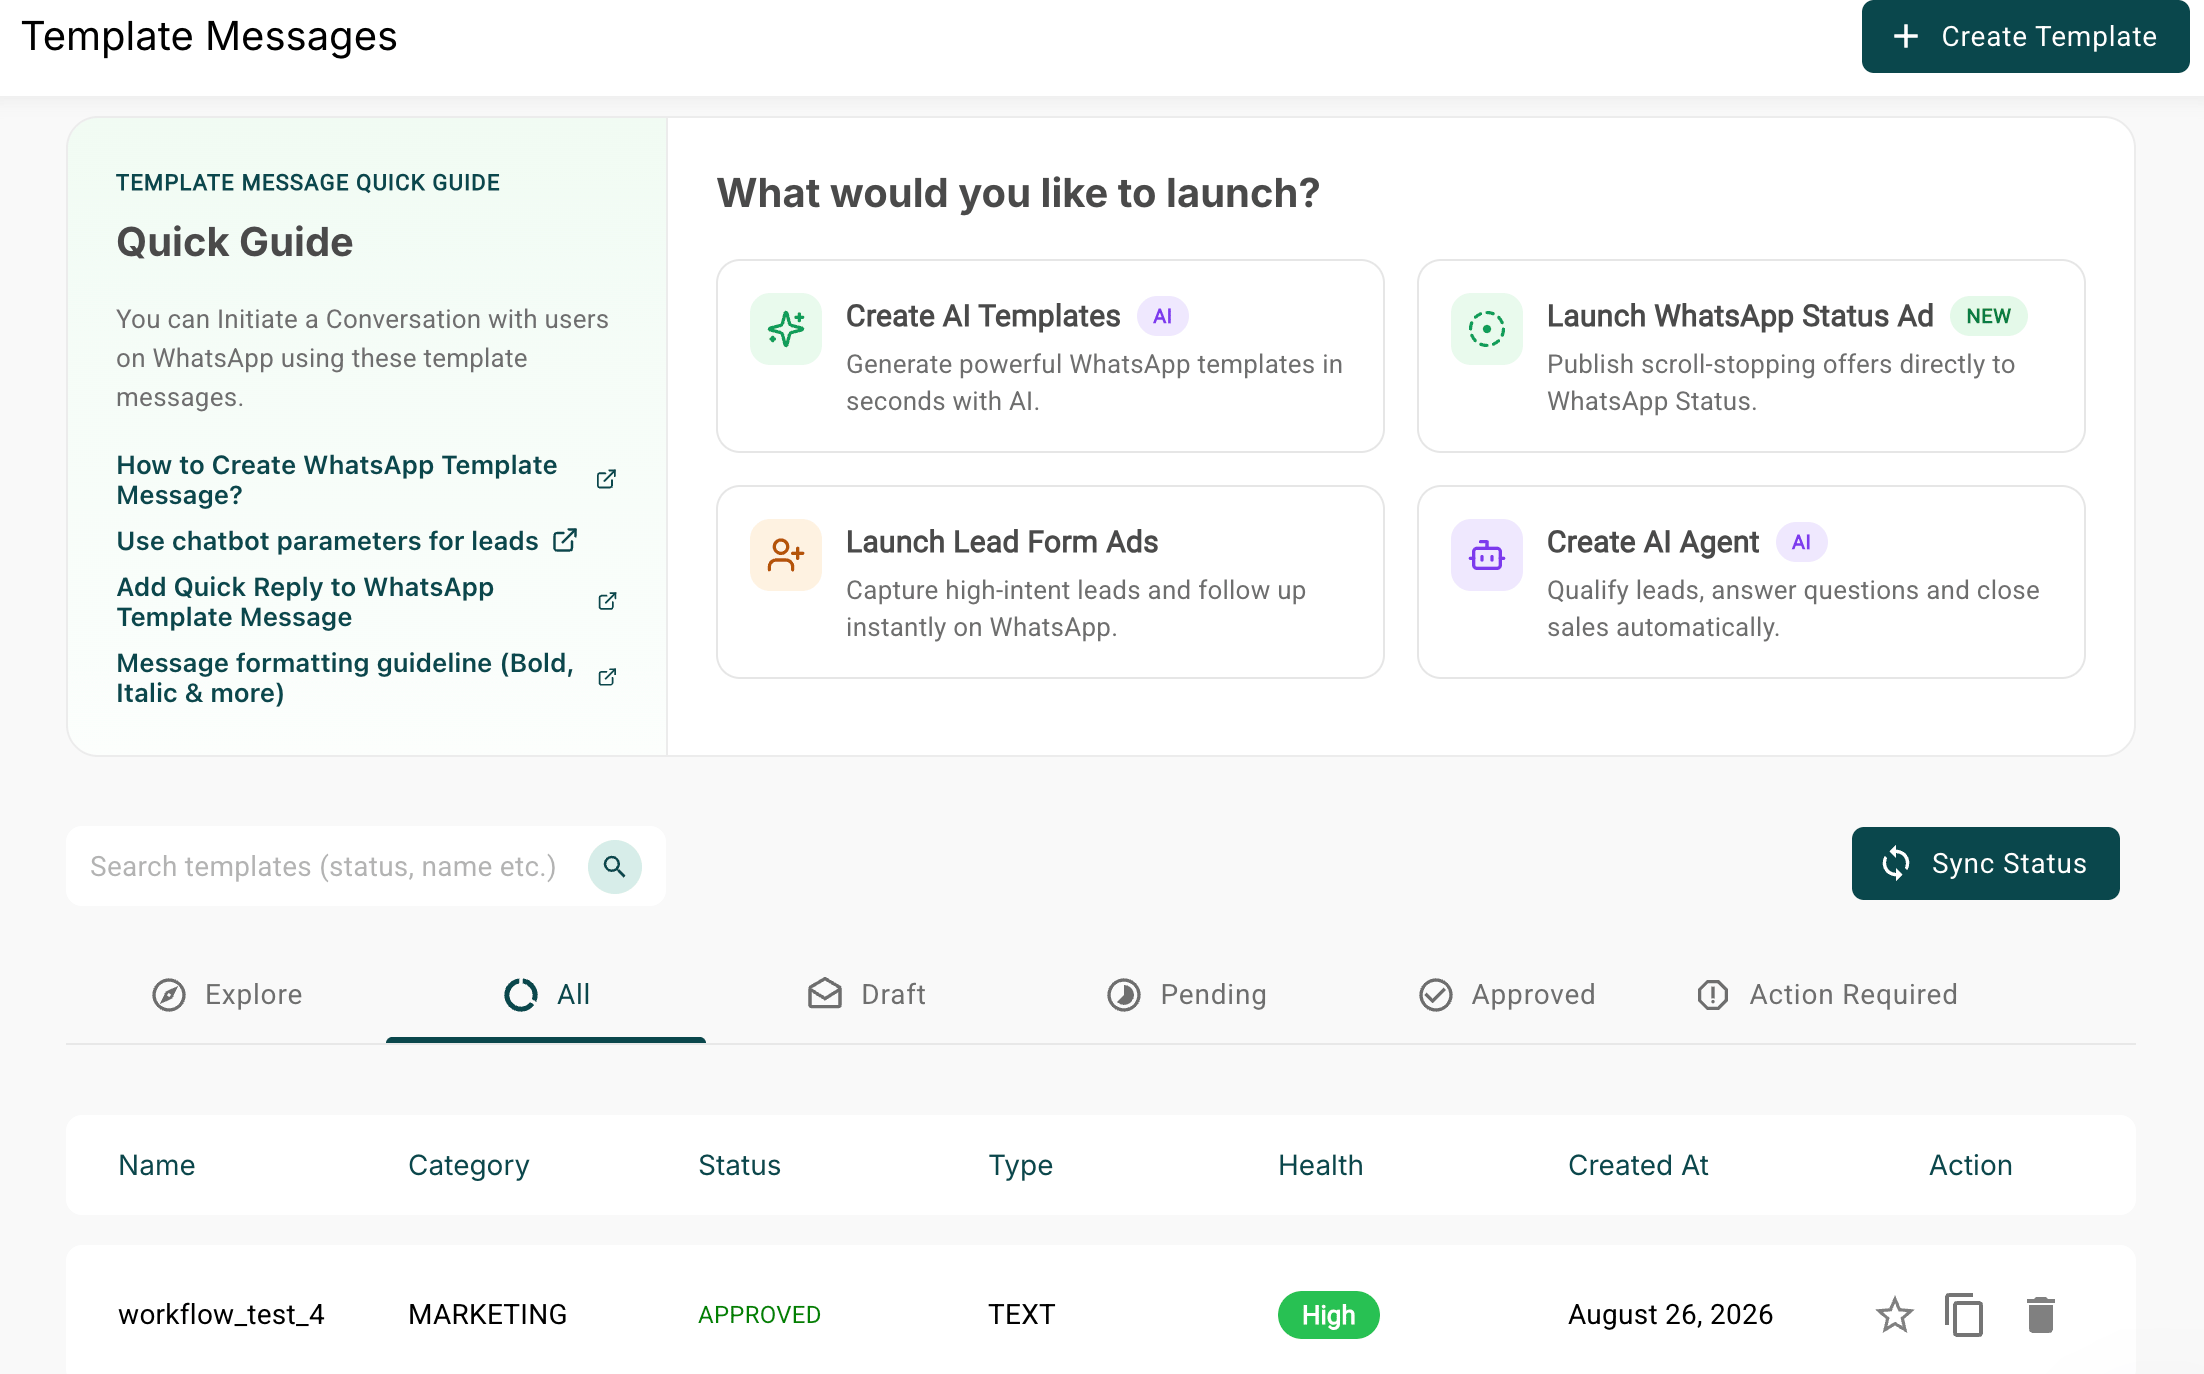
Click Create Template in the top right, build your WhatsApp template following the on-screen instructions, then submit it for Meta review.Your submitted template appears under the All tab in the same section, with its current status.
If you’re building workflows through the Bolna API rather than the dashboard, the node type is aisensy_whatsapp. Its config fields (template_name, language, recipient, variables, campaign_name) and a full JSON example are documented in Workflow Nodes — including a note that the node is fire-and-forget for now, so there’s no delivery status to branch on yet.